| Return shipping will be paid by | Buyer |
|---|---|
| Returns Accepted | Returns Accepted |
| Item must be returned within | 30 Days |
| Refund will be given as | Money back or replacement (buyer's choice) |
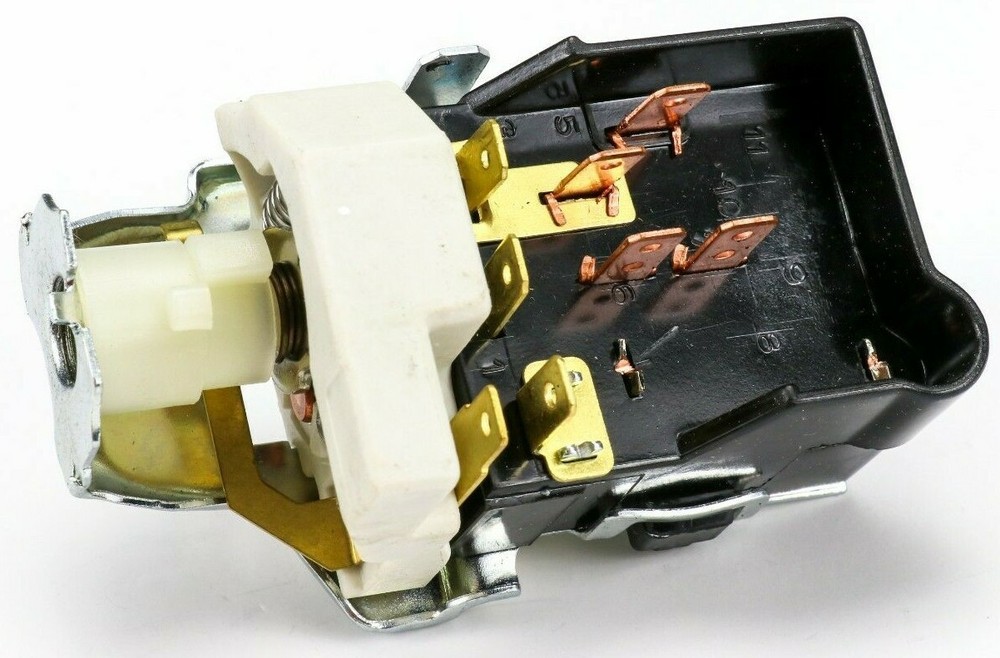
| Brand | Lectric Limited |
| Other Part Number | 1808009 |
| To Control | Headlight |
| Type | Switch Assembly |
| Interchange Part Number | Head Light |
| Manufacturer Part Number | Not Applicable |
| Universal Fitment | No |
| Vintage Part | No |
| Country/Region of Manufacture | Unknown |
| Placement on Vehicle | Front |
| Performance Part | No |
Check the listing for details. Correct 1968-1977 Corvette Headlight Headlamp Switch Control Lectric Limited NEW. Condition: New. Listed at 44.95 USD. This is a brand new 1968 - 1977 Corvette Headlight Headlamp Switch with Vacuum PortsElectrical specifications are as ORIGINAL - unlike generic switches.Lectric Limited.Quality factory original reproduction. Our decades of excellent customer service on Ebay shows in our Feedback.Please contact us if there is a problem and we will do our best to make it right.Your Corvette is better seen than not. You know that every time you pull into a gas station or get a crowd at the local car show your baby really turns heads. Well, the same is true when driving at night. You just don’t want to been seen but need to be and having a faulty headlight switch is not only inconvenient but down right dangerous. Over the years, these switches deteriorate leading to bad rheostats or simply out right failure. Symptoms may include a burning electrical smell from your dash when your headlights are on, inability to dim or adjust your instrument panel lights, poor or faulty movement of the mechanical parts or flickering of the lights. Even though your headlight switch is fairly simple to replace, we always recommend consulting your Corvettes service shop manual. First, you will need to access the back of the switch where you will find a small 1/4 inch button. Pull the knob while simultaneously pressing the little button. Your headlight knob should then come out. Next, unscrew the round nut that holds the switch to the dash. Pull the switch out from behind the dash and unplug it from the harness. Then, just reverse the actions to re-install. It’s that easy.
You may also like


